Introduction
Postman has become one of the most widely used tools for testing and debugging APIs, thanks to its simple interface and powerful features for sending requests, managing authentication, and automating test cases. Whether you're testing your own backend during development or exploring a third-party API before integrating it into your app, Postman makes the process much easier than testing directly through code. This post walks through the common challenges beginners face when starting out with Postman, and provides a clear, step-by-step guide to testing an API effectively.
The Problem
Developers new to Postman often run into a few common challenges:
- Unfamiliar interface: With multiple panels, tabs, and settings, Postman's interface can feel overwhelming for someone testing an API for the first time.
- Confusing authentication setup: Different APIs require different authentication methods — API keys, Bearer tokens, OAuth2, or Basic Auth — and beginners aren't always sure where to enter these details correctly in Postman.
- Hardcoding repeated values: Without using variables, developers often end up manually re-typing the same base URL, tokens, or IDs across multiple requests, making testing slower and more error-prone.
- Not organizing requests properly: Without using collections and folders, a growing set of test requests can quickly become disorganized and hard to navigate.
- Manually checking responses: Beginners often only look at the raw response body, missing out on Postman's built-in tools for validating status codes, response times, and specific data fields automatically.
- No repeatable testing process: Without writing simple test scripts, every API check has to be done manually, making it harder to catch regressions or verify behavior consistently over time.
Without a structured approach, testing in Postman can end up feeling more chaotic and time-consuming than it needs to be.
The Solution
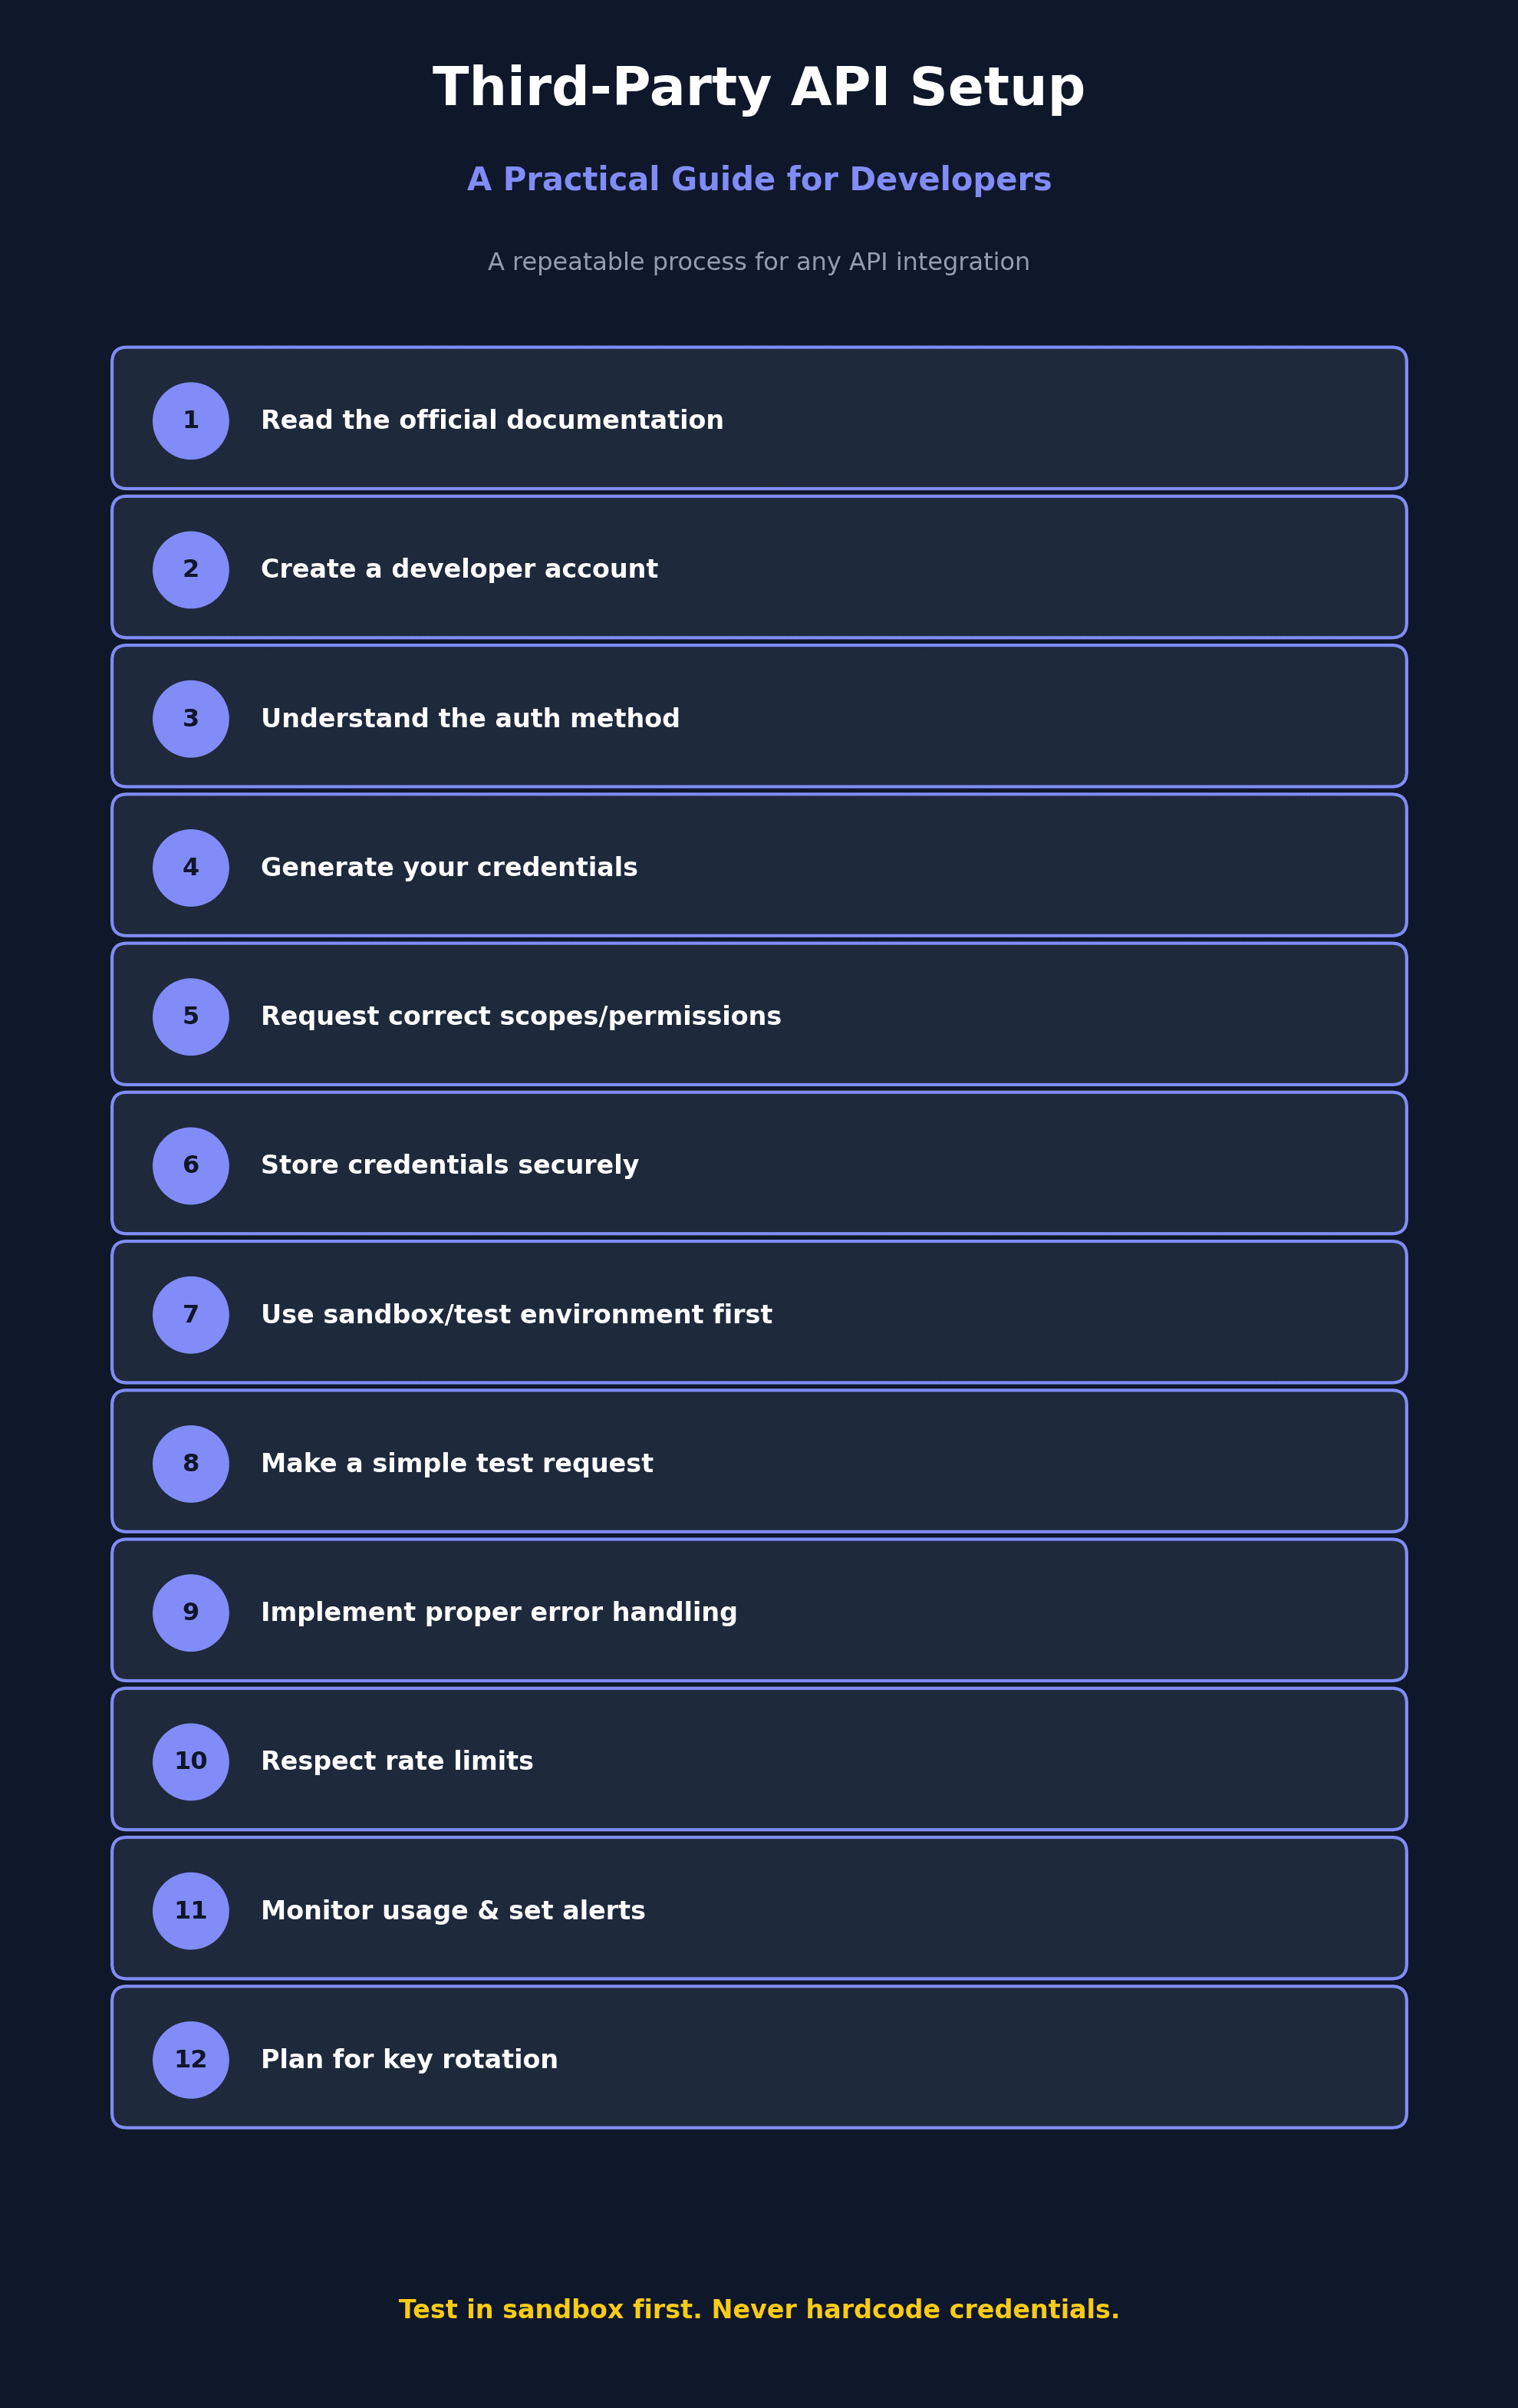
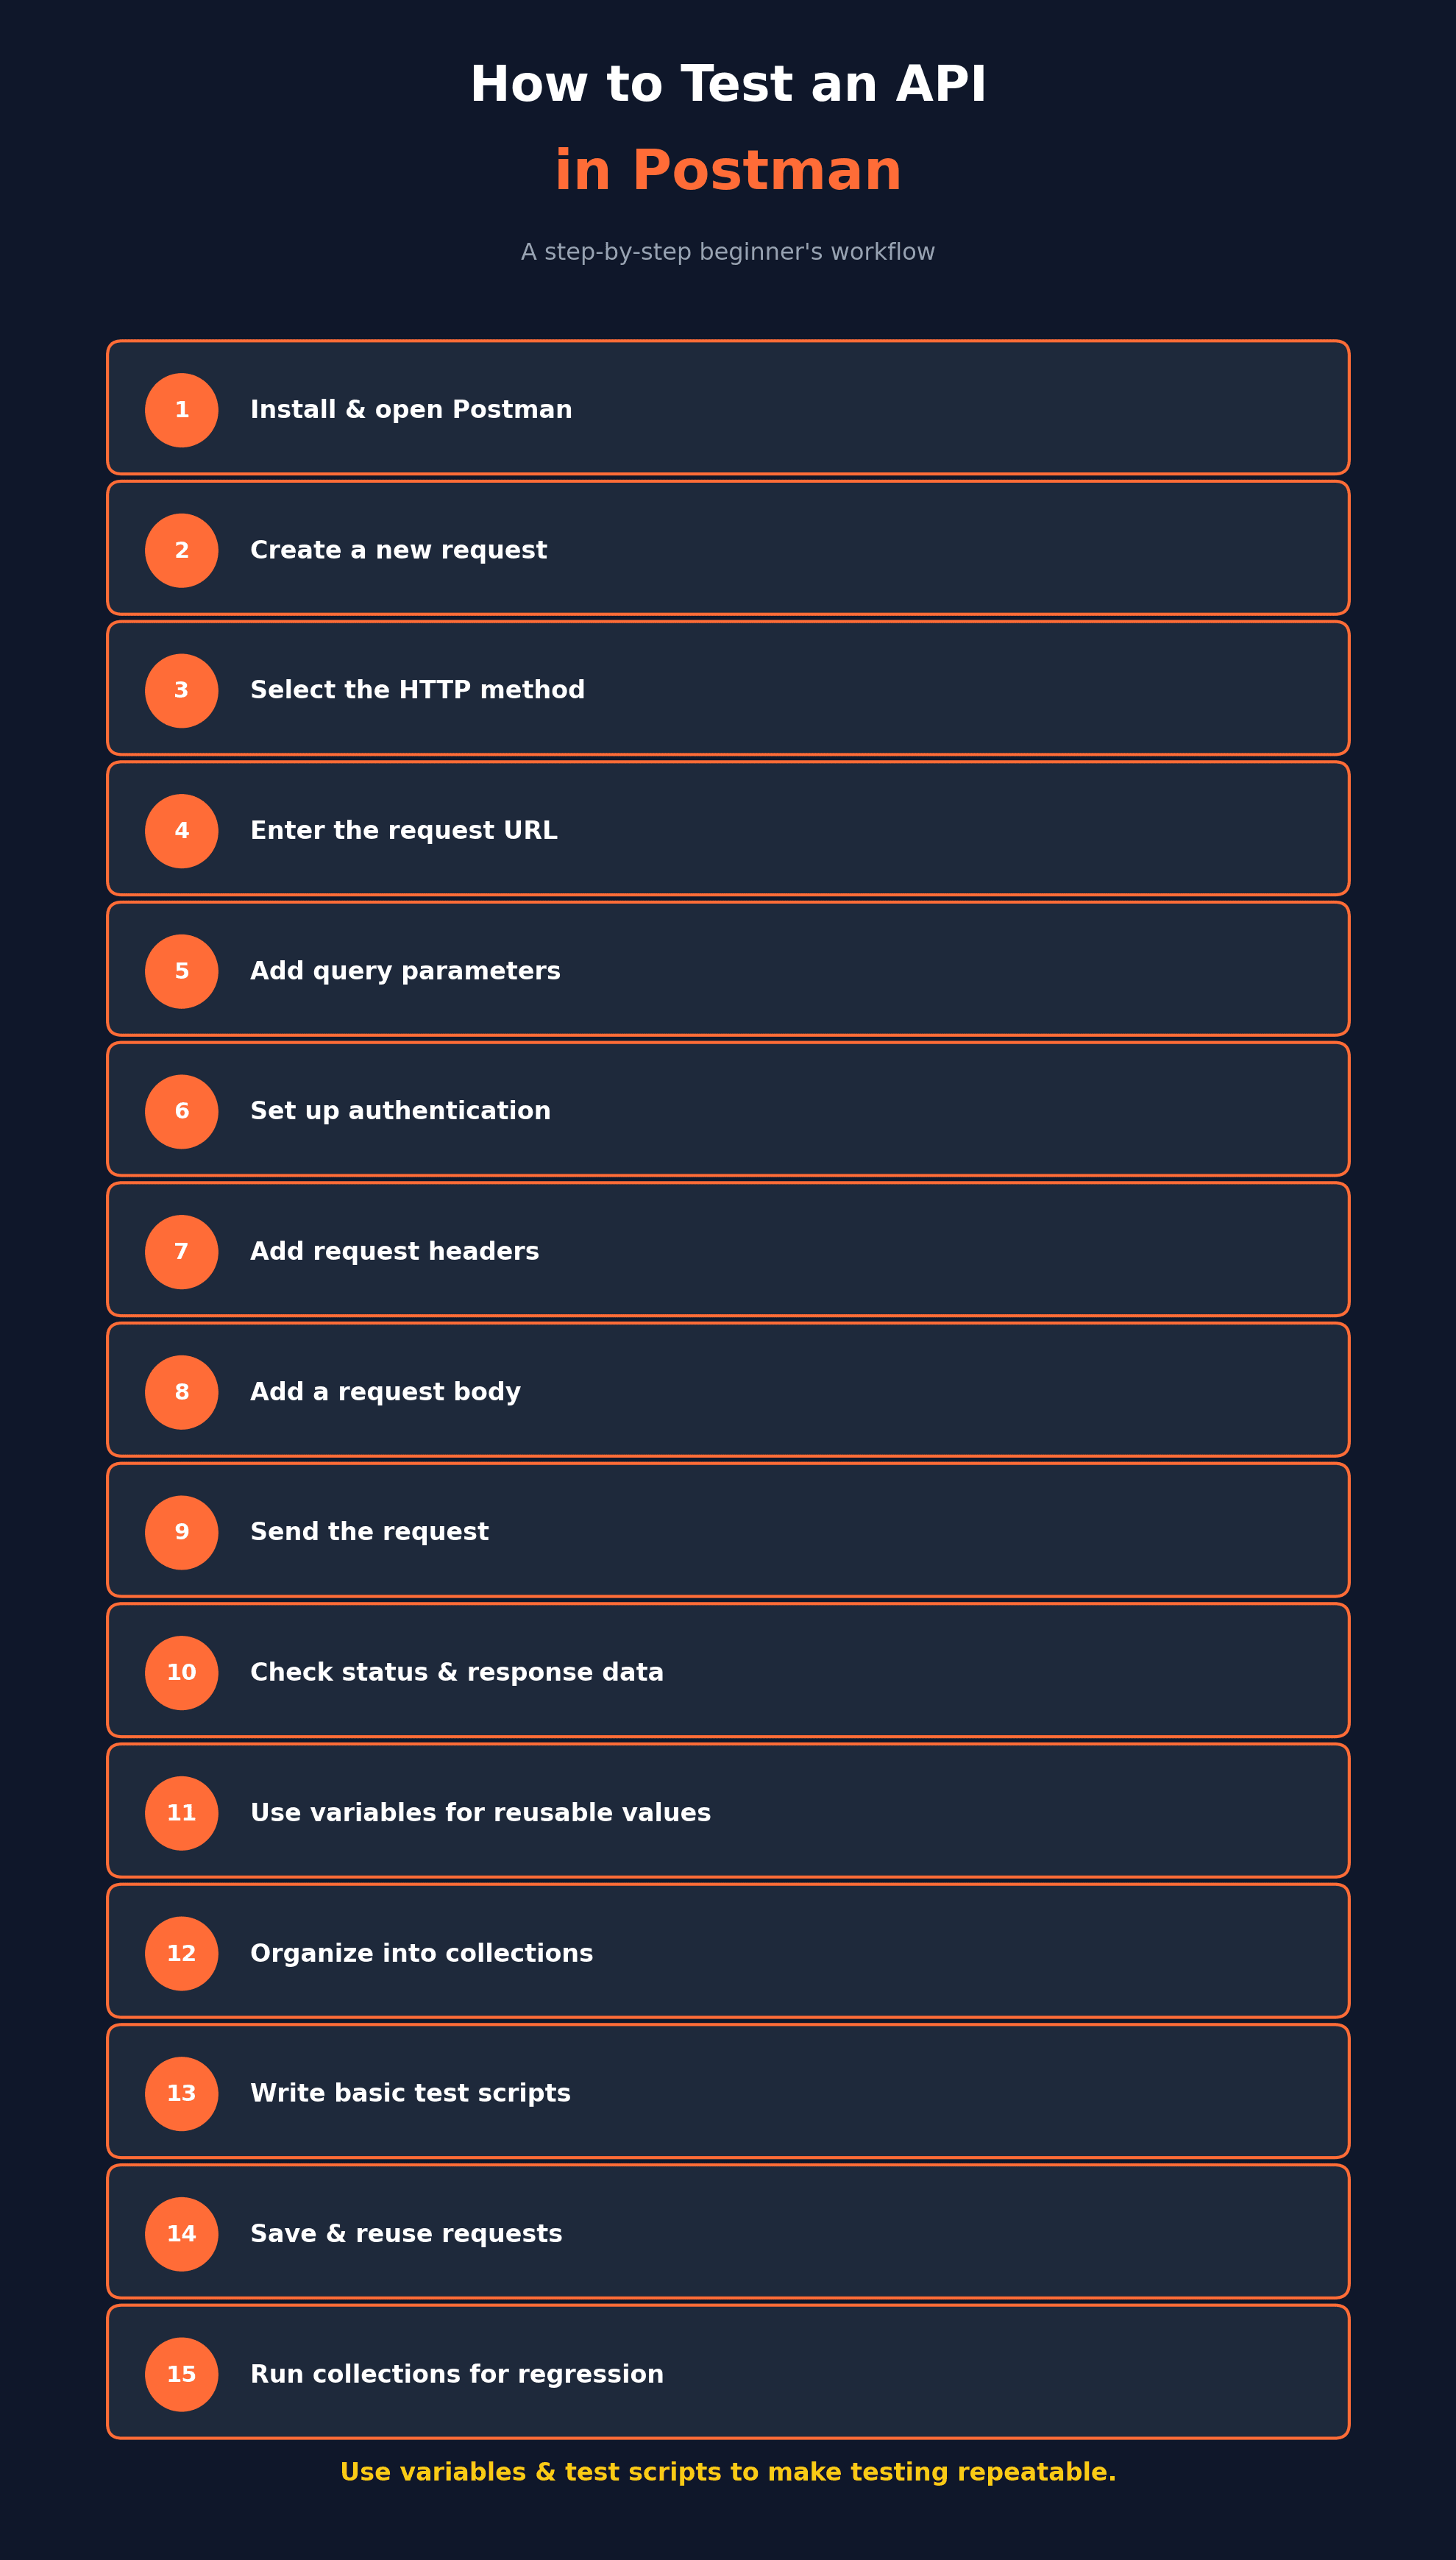
Here's a clear, step-by-step process for testing an API in Postman:
- Install and open Postman: Download Postman from its official website, install it, and create a free account (or use the desktop app without signing in for basic use).
- Create a new request: Click "New" and select "HTTP Request," or use the "+" tab to start a new request directly in the workspace.
- Select the HTTP method: Choose the appropriate method for your request — GET for retrieving data, POST for creating data, PUT or PATCH for updating data, and DELETE for removing data.
- Enter the request URL: Type or paste the API endpoint you want to test into the URL field, such as https://api.example.com/users.
- Add query parameters (if needed): For GET requests that require filtering or pagination, add key-value pairs under the "Params" tab, and Postman will automatically append them to the URL.
- Set up authentication: Under the "Authorization" tab, select the correct authentication type for the API you're testing — API Key, Bearer Token, Basic Auth, or OAuth2 — and enter the required credentials.
- Add request headers: If the API requires specific headers, such as Content-Type or custom headers, add them under the "Headers" tab.
- Add a request body (for POST/PUT requests): Under the "Body" tab, select the appropriate format (usually JSON), and enter the data you want to send in the request.
- Send the request: Click the "Send" button and review the response panel, which shows the response body, status code, response time, and headers.
- Check the response status and data: Confirm the status code matches what you expect (like 200 for success or 201 for created), and review the returned data to ensure it matches the expected structure.
- Use variables for reusable values: Instead of hardcoding values like your base URL or access token, create environment or collection variables (using {{variable_name}} syntax) so you can reuse and update them easily across multiple requests.
- Organize requests into collections: Group related requests into a Collection, and use folders within it to keep your testing structured as your API test suite grows.
- Write basic test scripts: Under the "Tests" tab, write simple JavaScript-based assertions (Postman provides built-in snippets) to automatically check things like status codes or specific response values every time you send a request.
- Save and reuse requests: Save your requests within your collection so you can quickly re-run the same tests later, rather than rebuilding them from scratch each time.
- Run collections for regression testing: Use Postman's Collection Runner to execute multiple saved requests in sequence, which is especially useful for checking that nothing has broken after changes to your API.
Following these steps helps turn API testing from a manual, repetitive task into a structured, repeatable process.
Conclusion
Testing an API in Postman becomes much more manageable once you understand the basic workflow: setting up your request, handling authentication correctly, organizing your work into collections, and using variables and test scripts to make testing repeatable. Whether you're debugging your own backend or evaluating a third-party API before integrating it, following a structured approach in Postman will save time and help you catch issues early, before they ever reach your actual application code.