Introduction
Google Maps powers location features across countless websites and apps, from simple embedded maps to complex geocoding, autocomplete, and route-planning tools. To use any of these features, developers need a Google Maps API key, generated through Google Cloud Console. While creating the key itself is quick, the setup process involves a few extra steps around billing and security that often confuse first-time users. This post breaks down the common points of confusion and walks through exactly how to get your Google Maps API key set up correctly.
The Problem
Developers setting up a Google Maps API key for the first time often run into a few common issues:
- Confusion around mandatory billing: Many developers are surprised to learn that Google requires an active billing account linked to the project before the map will even load, even for small-scale or free-tier usage.
- Outdated pricing assumptions: Google's pricing model changed significantly, replacing the older flat monthly credit with a per-API free tier system, which has left many older tutorials and guides outdated.
- Unrestricted, exposed keys: Developers who skip setting restrictions on their API key risk it being copied and used by unauthorized parties, potentially leading to unexpected charges.
- Maps not loading after setup: A common frustration is generating a key and enabling billing, only for the map to still not load due to missing API restrictions or an incorrect website restriction.
- Not knowing which APIs to enable: Google Maps Platform includes many different APIs (Maps JavaScript API, Places API, Geocoding API, etc.), and it's not always clear which ones are actually needed for a specific project.
- Domain restriction errors: A common error, "RefererNotAllowedMapError," occurs when a website's URL isn't correctly added to the key's restrictions, which can be confusing to debug for beginners.
Without a clear step-by-step process, developers can end up wasting time troubleshooting billing issues, blank maps, or security misconfigurations.
The Solution
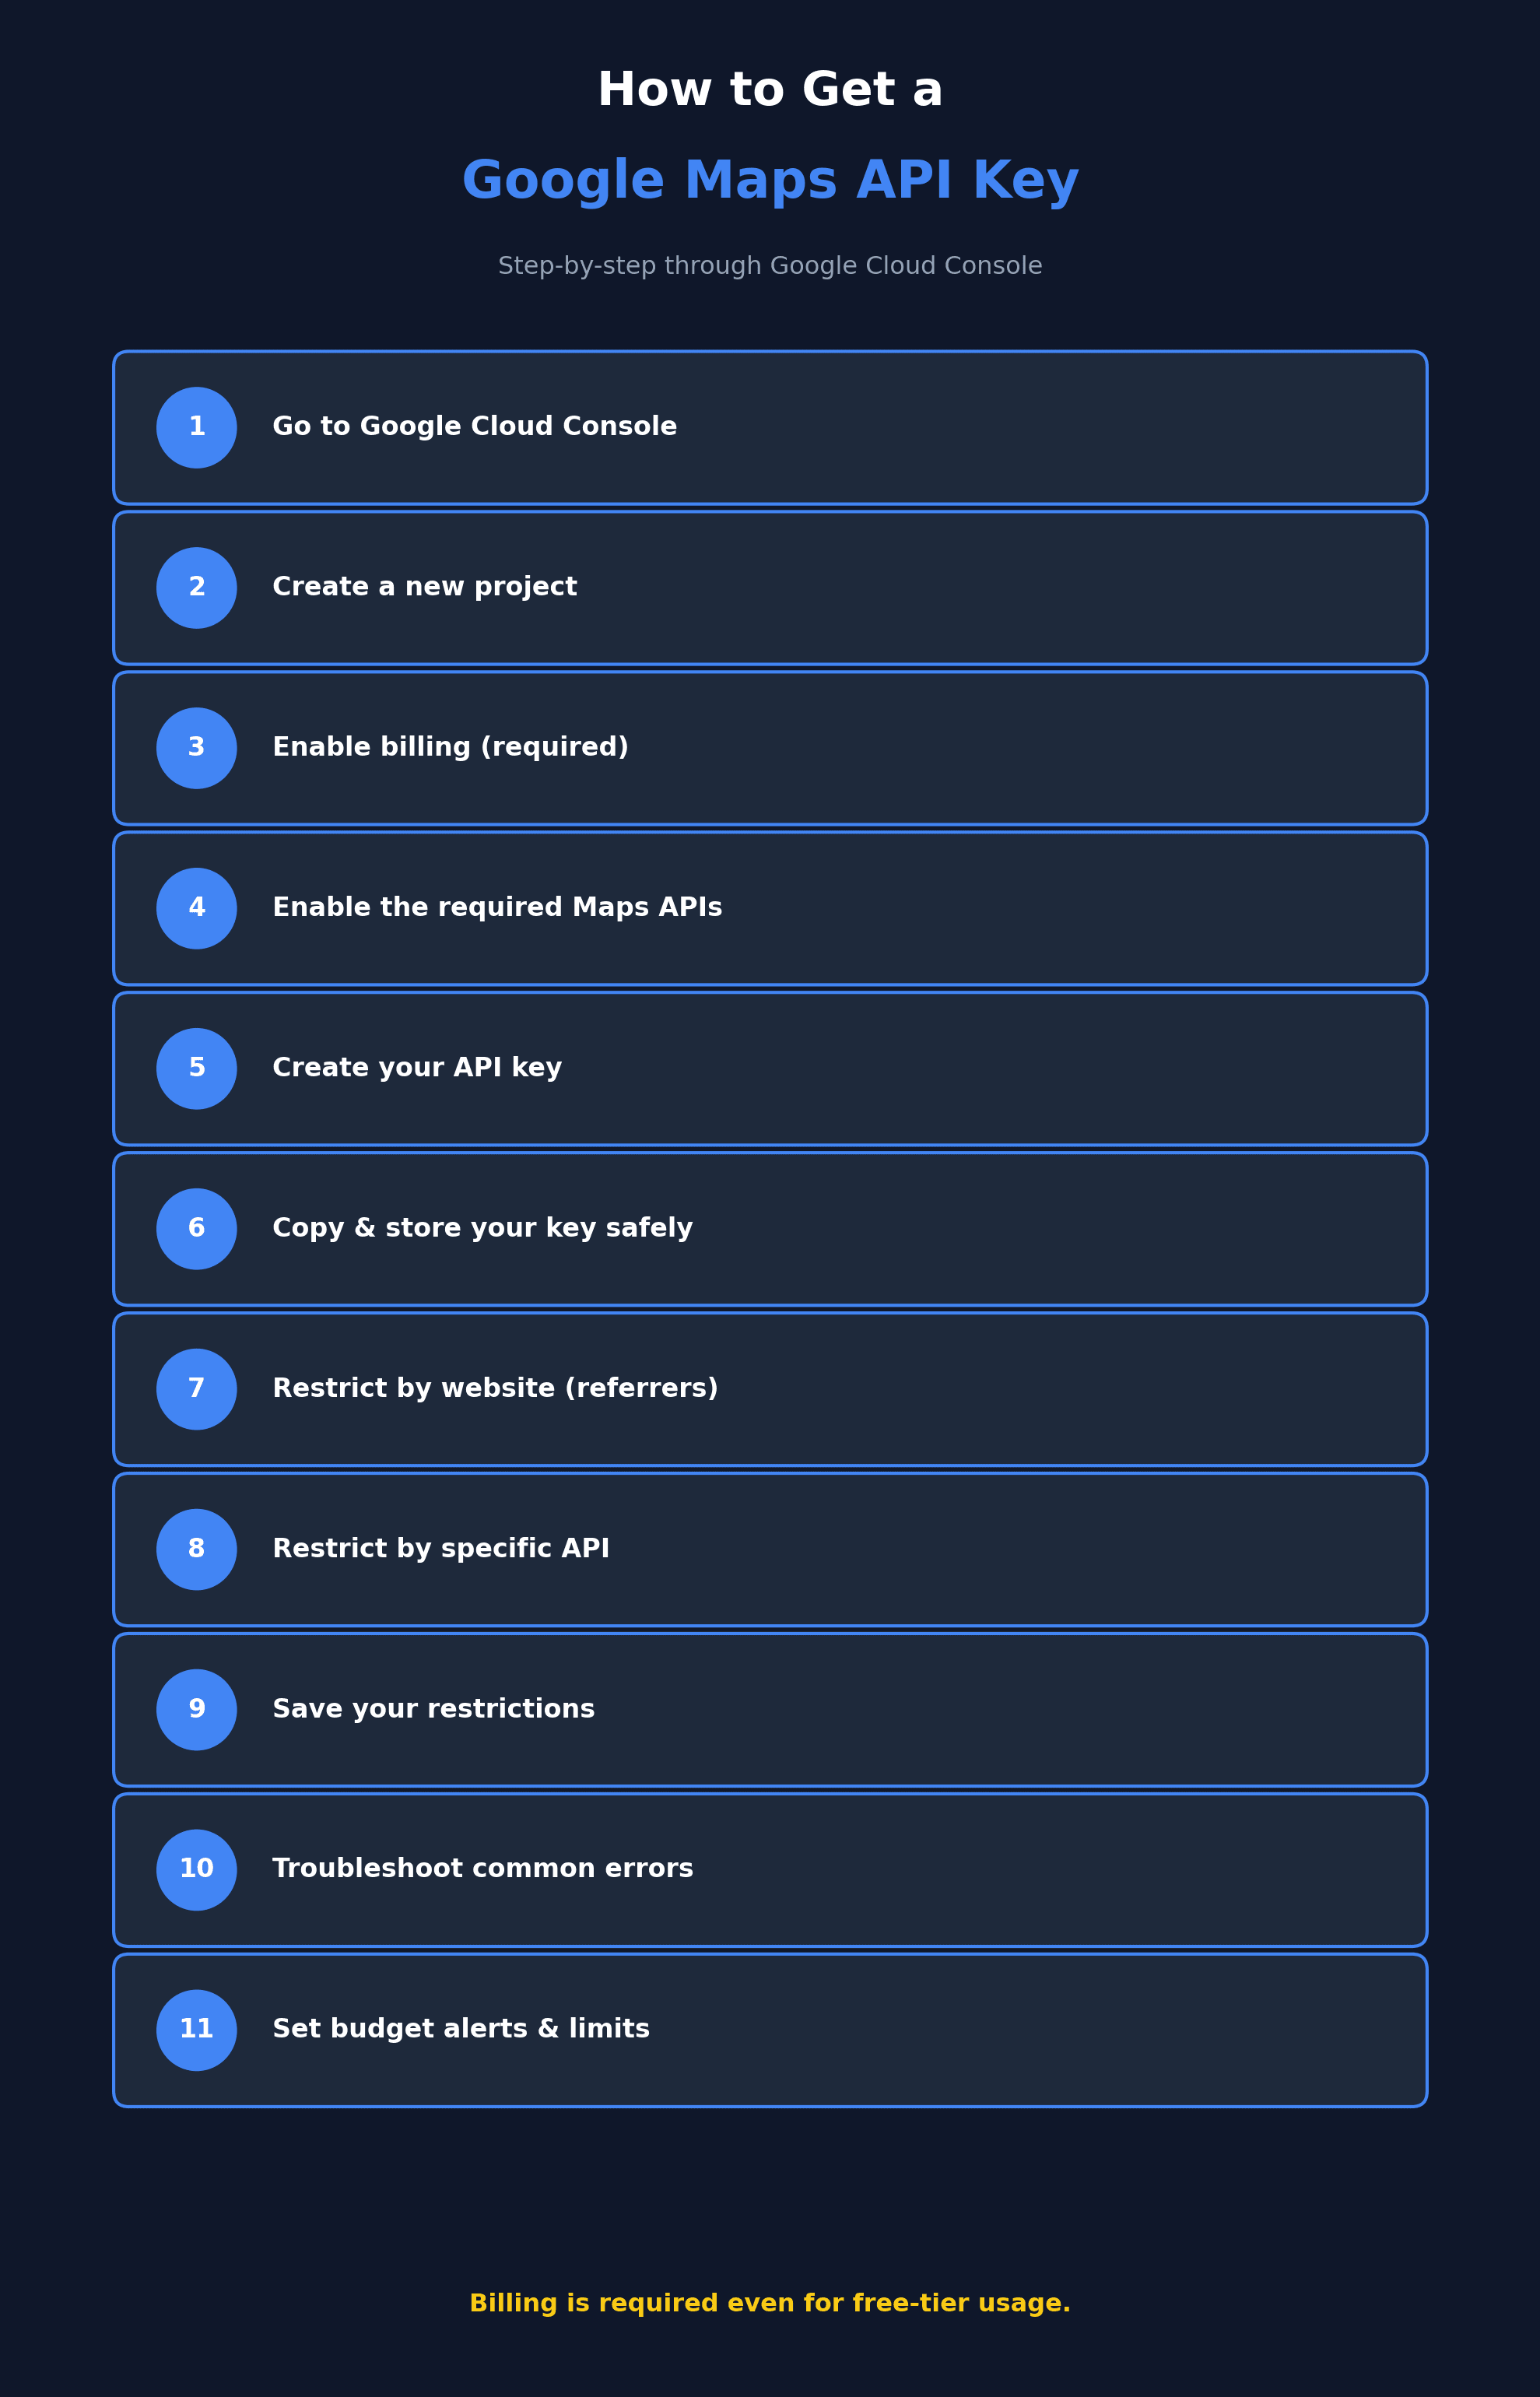
Here's a clear, step-by-step process for getting your Google Maps API key set up correctly:
- Go to Google Cloud Console: Visit the Google Cloud Console and sign in with your Google account. Everything in Google Maps Platform lives inside a "project."
- Create a new project: Click the project dropdown at the top of the page, select "New Project," give it a recognizable name, and click "Create."
- Enable billing: Google Maps Platform requires an active billing account linked to your project before any map will load, even for basic or free-tier usage. Go to the billing section, confirm your project shows an active billing account, or create one if you don't already have it.
- Enable the required Maps APIs: In the API Library, search for and enable the specific APIs your project needs, such as Maps JavaScript API, Places API, or Geocoding API, depending on what features you're building.
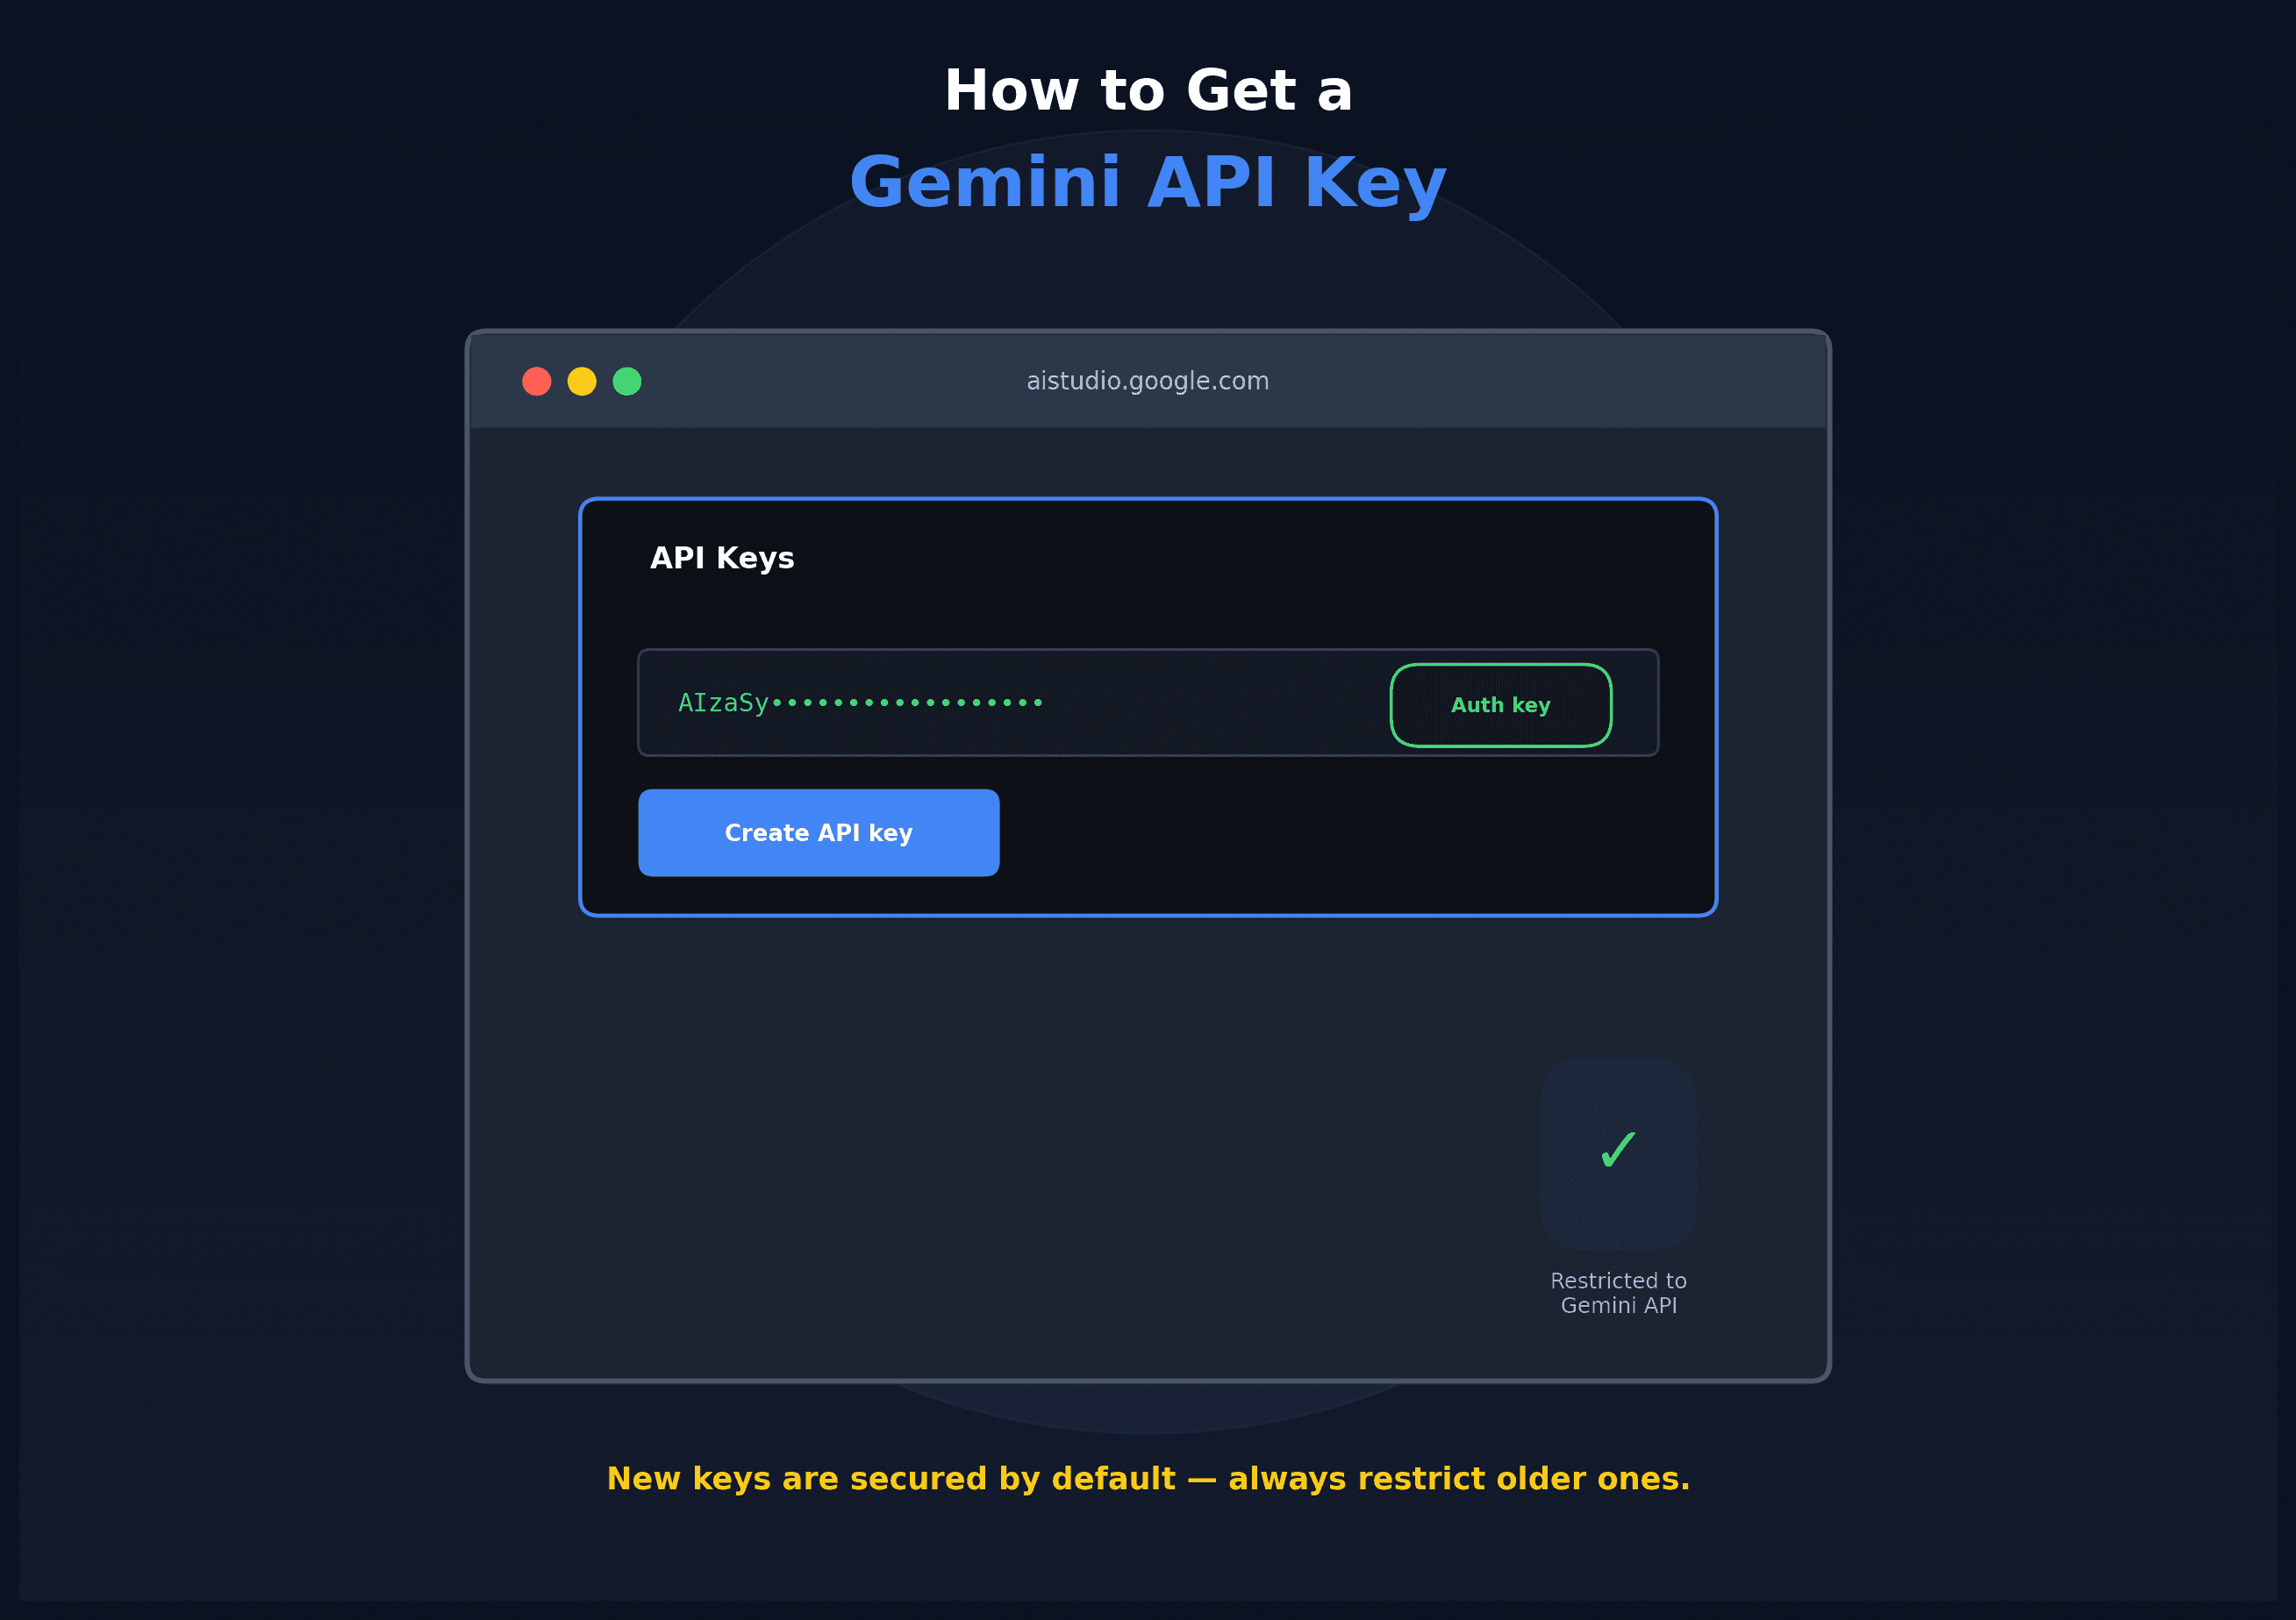
- Create your API key: Go to APIs & Services, then Credentials, and click "Create Credentials," followed by "API key." Google will generate your key immediately.
- Copy and store your key safely: Copy the generated key and store it somewhere secure, such as a password manager or environment variable. Avoid committing it directly into a public code repository.
- Restrict the key by application: Open your newly created key and, under "Application restrictions," select "Websites" (or "HTTP referrers"), then add your domain in the format .yourwebsite.com/ to cover all pages, along with a second entry for the root domain.
- Restrict the key by API: Under "API restrictions," select "Restrict key" and check only the specific APIs you enabled in step 4, ensuring the key can't be used for unrelated services.
- Save your restrictions: Click "Save" at the bottom of the page. It may take a few minutes for the restrictions to take effect, so if your map doesn't load right away, wait a few minutes and refresh.
- Troubleshoot common errors: If you see a "RefererNotAllowedMapError," double-check that your website's exact domain is listed correctly under website restrictions. If the map is blank with no error, check whether a cookie consent setup on your site is blocking Maps from loading, since Google Maps requires cookies to function properly.
- Monitor usage and set budget alerts: In the Google Cloud Console, set up billing alerts at different usage thresholds to avoid unexpected charges, and consider setting custom daily query limits for better cost control.
Following these steps ensures your Google Maps API key is properly configured, secured against misuse, and ready to power your project's location features.
Conclusion
Getting a Google Maps API key is a straightforward process once you understand the required steps around billing, project setup, and key restrictions. By creating a project, enabling billing, enabling only the APIs you need, and properly restricting your key by website and API, you can avoid the most common setup issues and keep your project secure from unauthorized use. Taking the extra few minutes to configure restrictions and billing alerts upfront can save significant time and money down the road.