Introduction
The OpenAI API allows developers to integrate GPT models into their own applications, chatbots, and automation tools, going beyond what's possible through the regular ChatGPT web interface. To use the API, developers first need to generate an API key through the OpenAI Platform, a separate system from the consumer ChatGPT app. While the process is quick once you know the steps, many first-time users get confused about the difference between ChatGPT and the API platform, along with the billing requirements involved. This post breaks down the common points of confusion and provides a clear, step-by-step guide to getting your OpenAI API key.
The Problem
Developers trying to get an OpenAI API key for the first time often run into a few common issues:
- Confusing ChatGPT with the API platform: Many people assume a ChatGPT Plus subscription includes API access, but these are two completely separate products with separate accounts and separate billing.
- Unclear billing requirements: Since the OpenAI API operates on a pay-as-you-go basis, developers are sometimes surprised that a payment method is required before their key will actually work, beyond any limited introductory credits.
- Changing free credit policies: OpenAI's free credit offerings for new accounts have changed over time, so it's worth checking the current billing page directly rather than relying on older guides for exact amounts.
- Confusing first-call errors: Beginners often hit errors like "insufficient_quota" or "invalid authentication" on their first request, without knowing whether the issue is with the key, their code, or their account's billing status.
- Not understanding usage tiers: OpenAI's rate limits are tied to usage tiers based on how much has been spent over time, which can confuse new users who don't understand why their request volume is limited early on.
- Losing the key after creation: Since the full API key is only shown once at creation, closing the dialog without copying it means having to generate a brand new key.
Without a clear walkthrough, this fairly simple setup process can lead to unnecessary confusion and wasted troubleshooting time.
The Solution
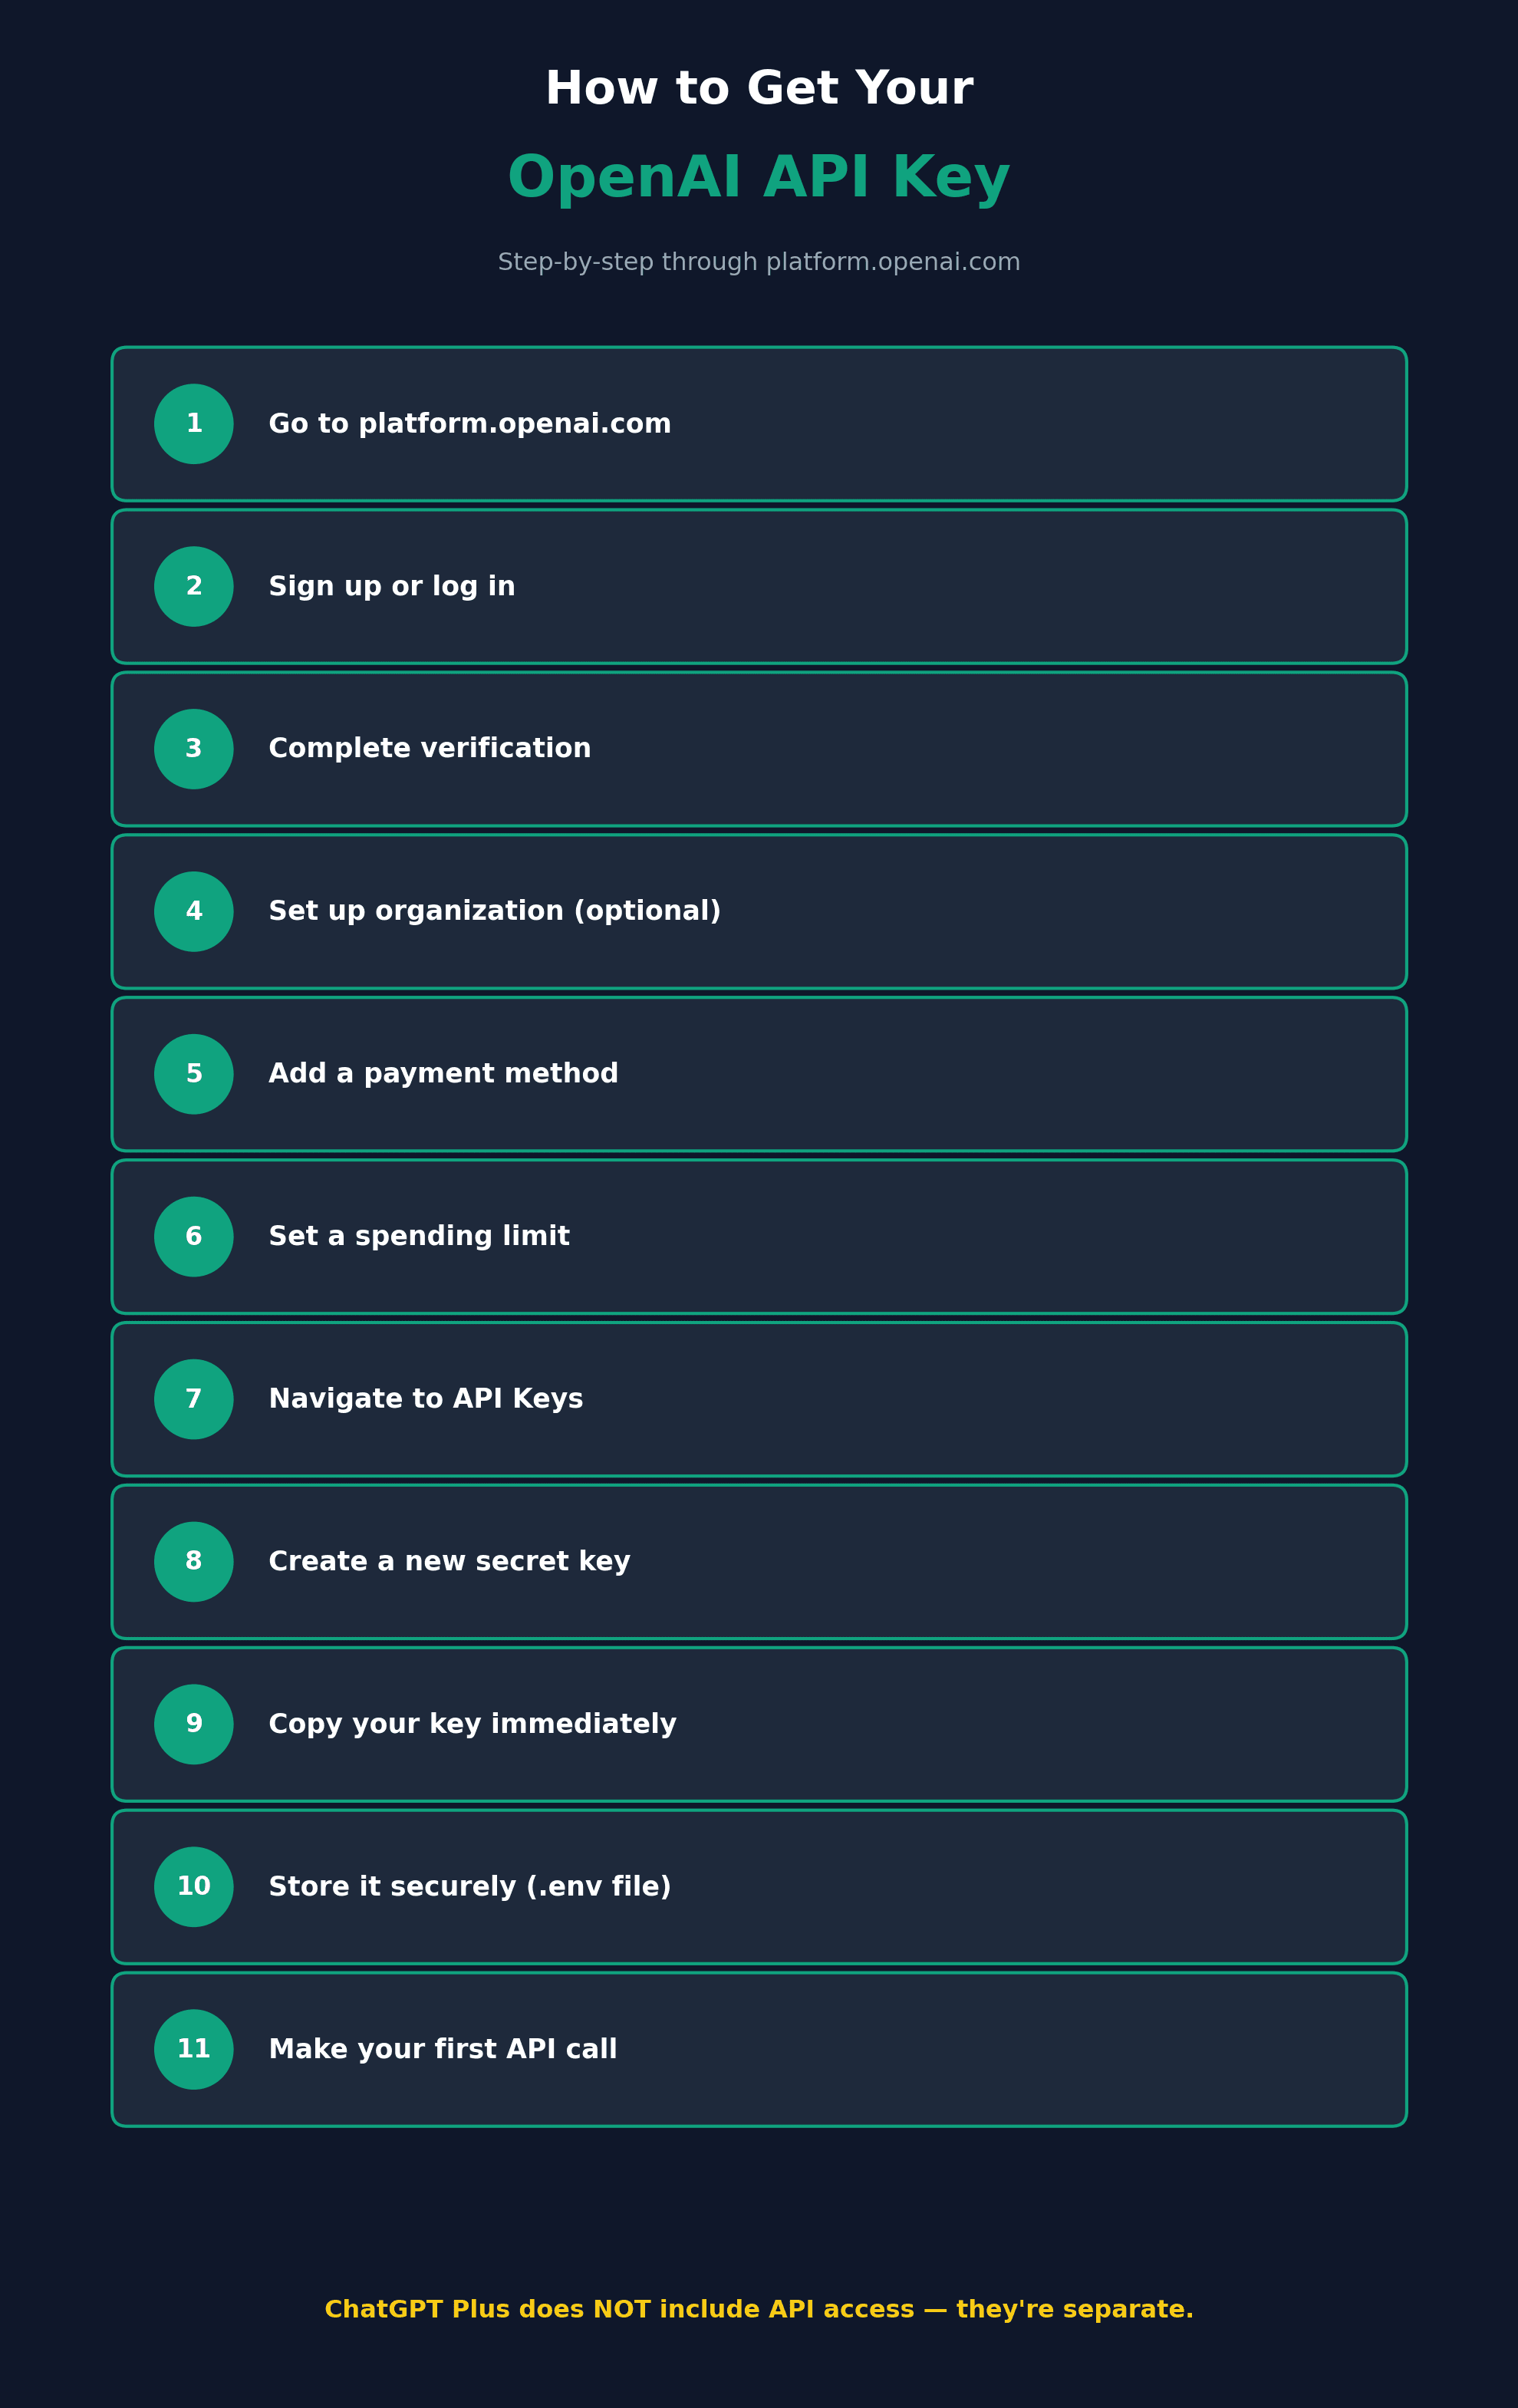
Here's a clear, step-by-step process for getting your OpenAI API key:
- Go to platform.openai.com: This is the API platform, separate from chatgpt.com where you use the regular ChatGPT web app. Even if you already have a ChatGPT account, you'll still need to set up billing separately here for API access.
- Sign up or log in: Create an account using your email or a supported single sign-on option like Google, Microsoft, or Apple. You can use the same credentials as an existing ChatGPT account if you have one.
- Complete verification steps: OpenAI typically requires email verification, and may require phone number verification as part of account setup to help prevent abuse.
- Set up an organization (optional for teams): If you're creating keys for a team, set up an Organization under Settings to manage billing and API keys centrally. Individual developers building personal projects can skip this step.
- Add a payment method: Go to the Billing section and add a credit card. The OpenAI API is usage-based, charging separately for input and output tokens depending on the model used.
- Set a monthly spending limit: While in the Billing section, set a spending limit to avoid unexpected charges — this can always be adjusted later as your usage grows.
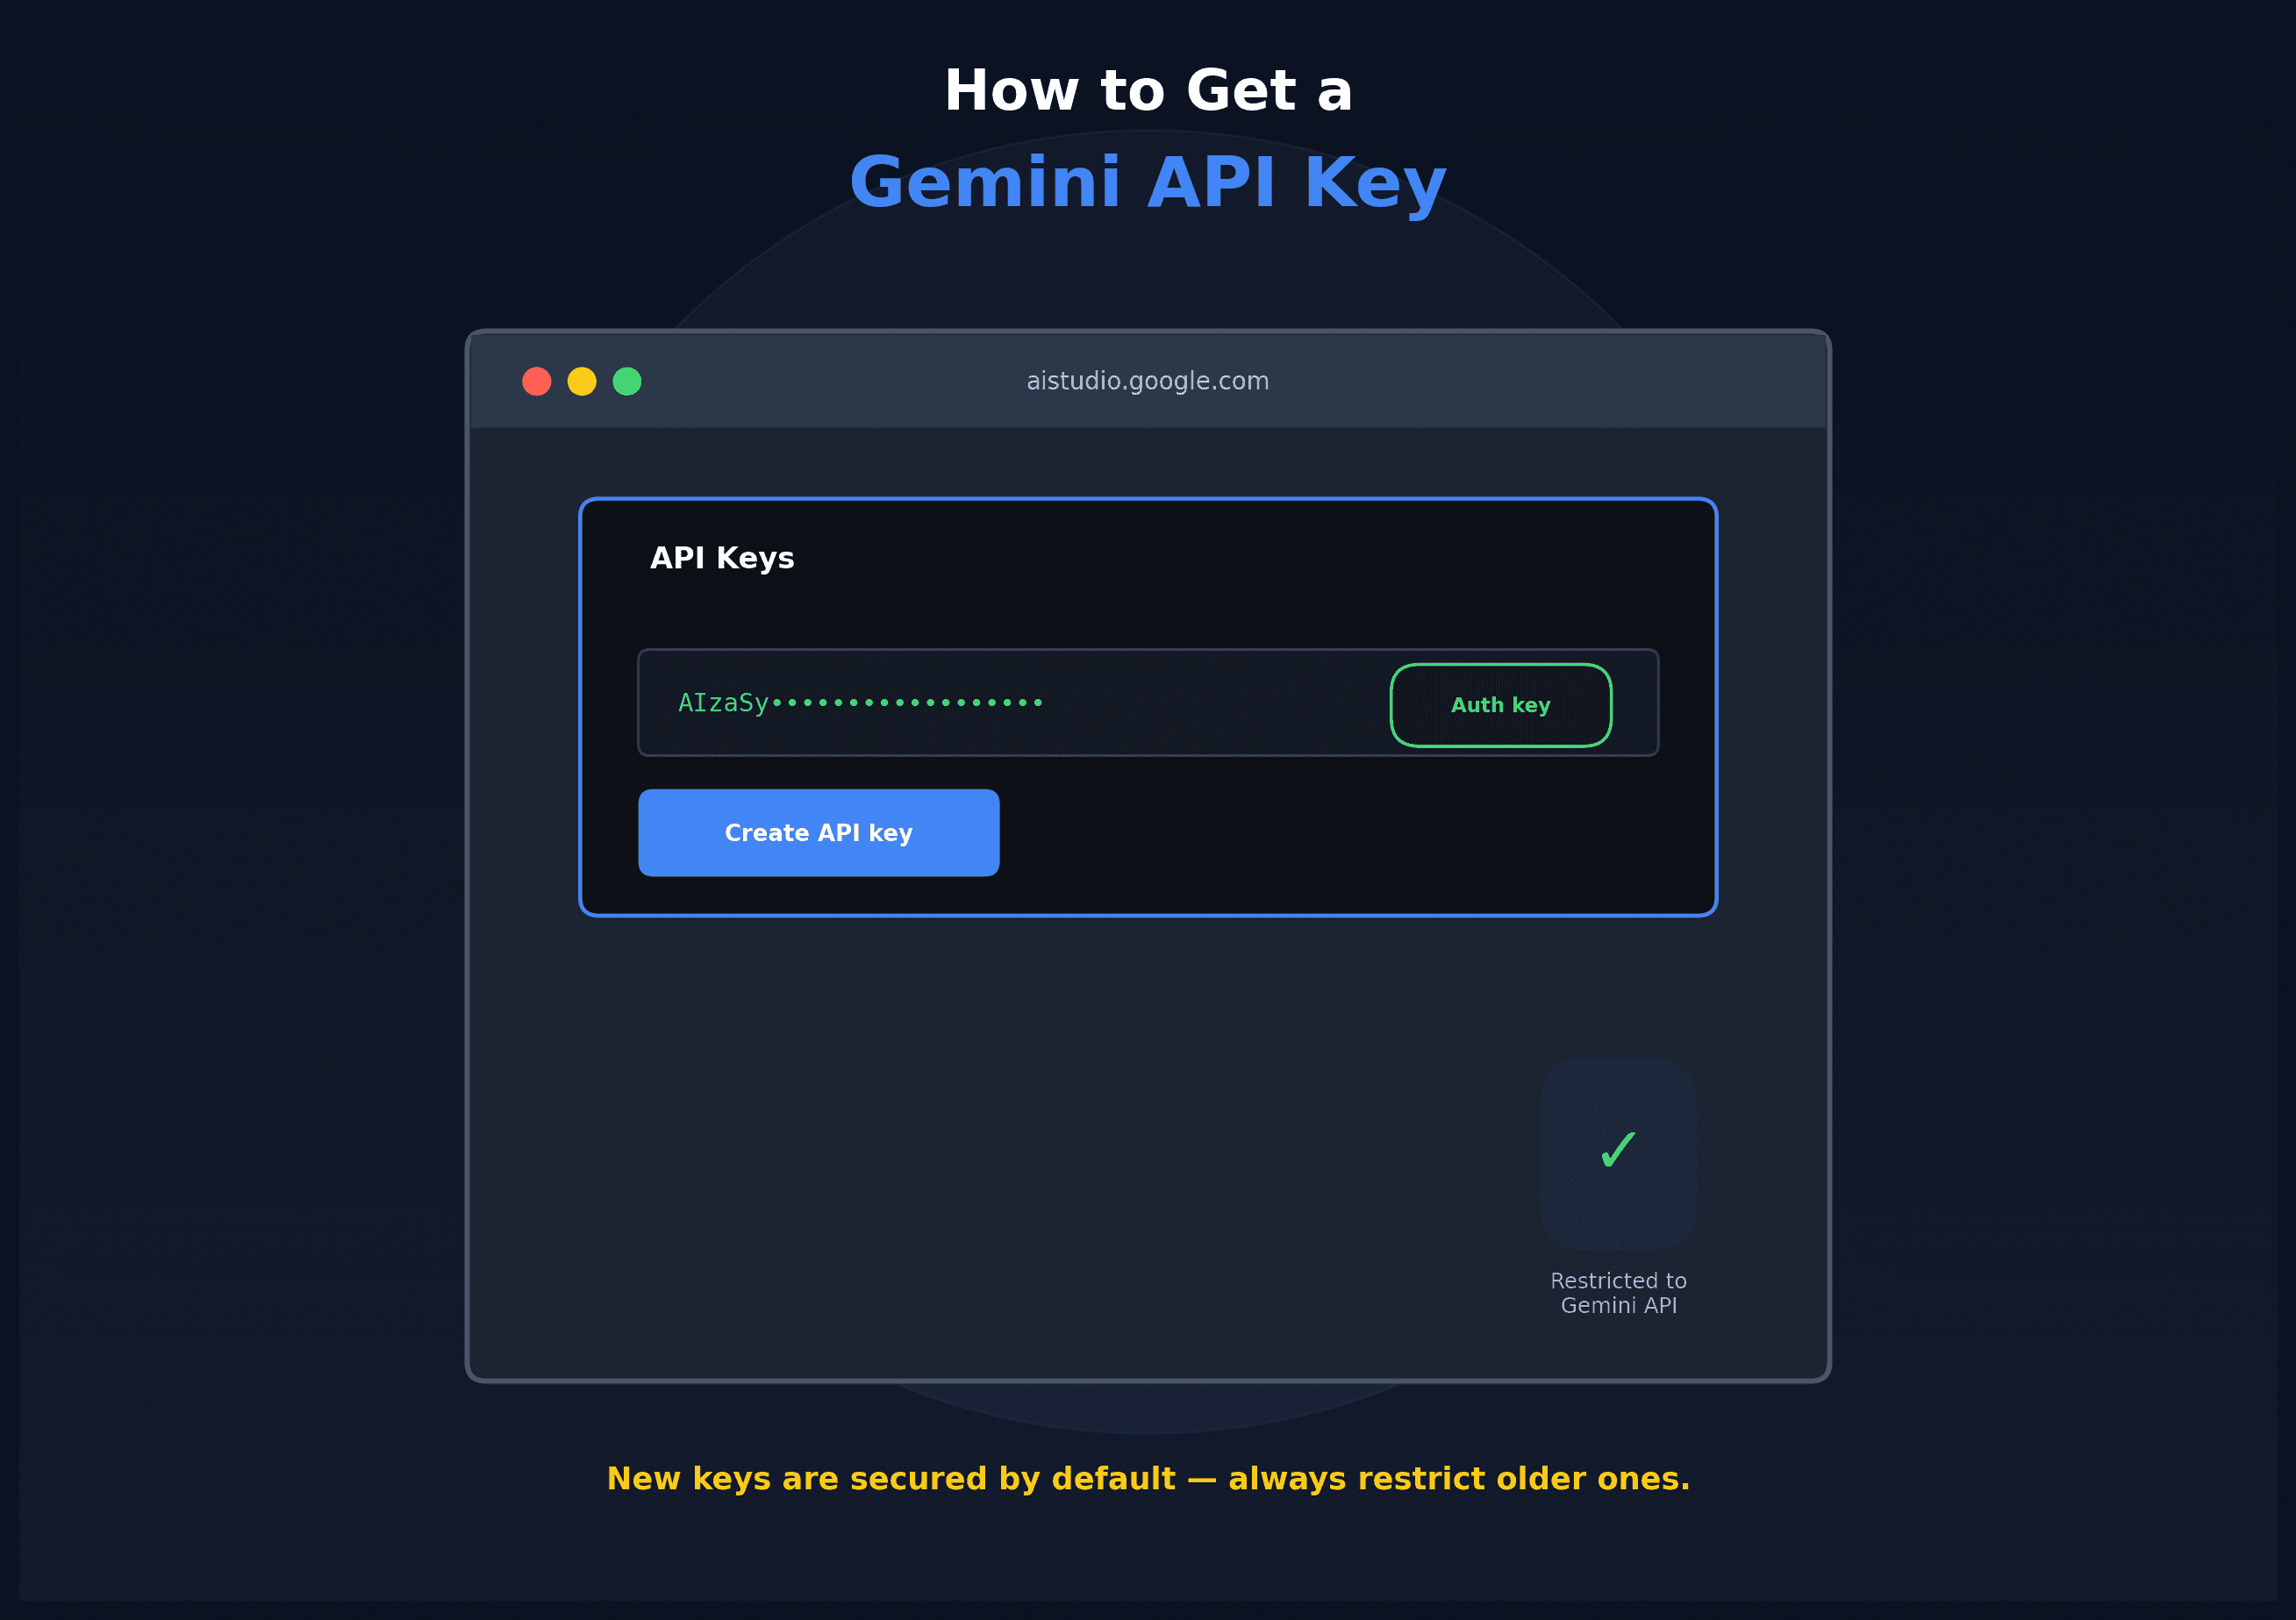
- Navigate to API Keys: Go to Settings, then API Keys (or directly to platform.openai.com/api-keys), where you can view existing keys or create new ones.
- Create a new secret key: Click "Create new secret key," give it a descriptive name (such as "Production App" or "Development Testing"), and choose the appropriate permissions and project association if managing multiple projects.
- Copy your key immediately: Your key will be shown only once, starting with the prefix sk-. Copy it right away and store it securely, since OpenAI cannot display the full key again after you close the dialog.
- Store the key safely: Save your key as an environment variable rather than hardcoding it directly into your source code, and make sure it's excluded from version control.
- Make your first API call: Using OpenAI's official SDK for Python or Node.js, or a simple request with your key in the Authorization header, send a test message to confirm everything is working correctly.
- Understand usage tiers and rate limits: Your rate limits are tied to a usage tier determined by how much you've spent over time. Adding your first credits typically unlocks a higher tier with a more usable request allowance for testing and development.
Following these steps ensures your OpenAI API key is set up correctly, properly secured, and ready to use in your application.
Conclusion
Getting an OpenAI API key is a quick process once you understand that it's a separate system from the regular ChatGPT app, with its own account, billing, and usage tiers. By signing up at platform.openai.com, adding a payment method, generating your key, and following basic security practices like using environment variables, you'll be ready to start building with GPT models safely and confidently. Since billing policies and free credit offers can change over time, it's always worth double-checking the current details on OpenAI's official billing page before you get started.